
How to Combine Lash Filler, Brow Lamination and Tinting to Maximize Your Earnings and Client Satisfaction?
In the ever-evolving beauty industry, time and efficiency are two of the most valuable resources. Beauty professionals everywhere are looking for ways to increase their revenue without overextending themselves or exhausting their appointment books. One of the smartest strategies to achieve this balance is learning how to combine treatments in a single session.
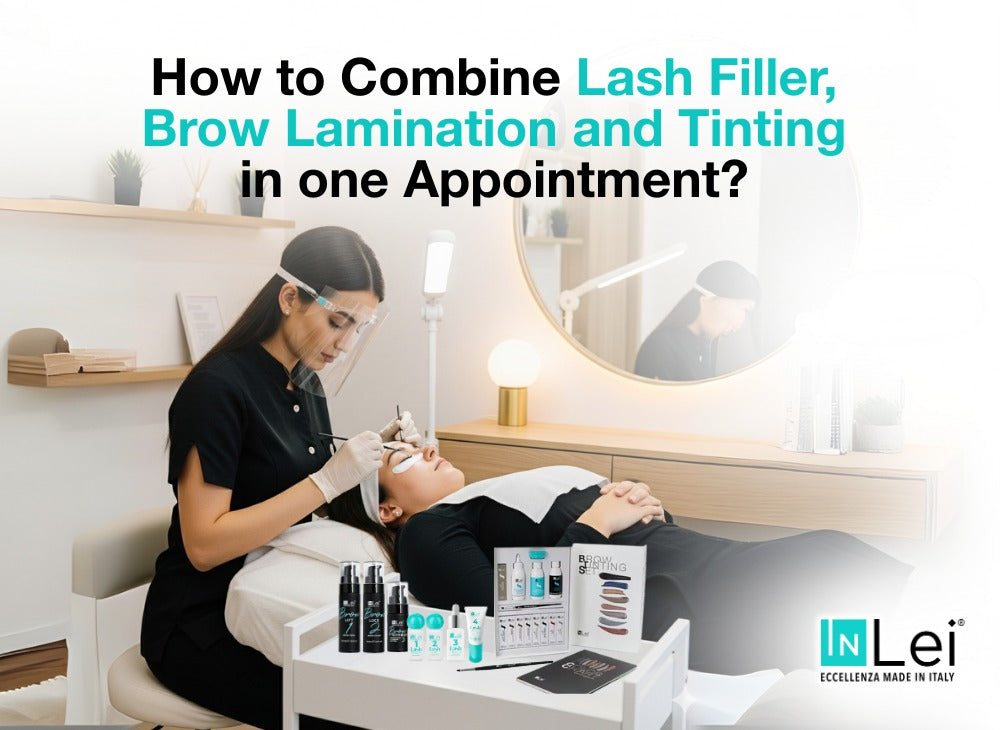
For lash and brow artists, a powerful trio is the combination of Lash Filler + Brow Lamination + Tinting. Together, these services deliver dramatic, long-lasting results for clients while allowing professionals to charge premium rates and streamline their workflow.
This guide will not only explain the benefits of this approach but also break down step-by-step instructions for how to perform all three services in one efficient appointment — so you can save time, satisfy your clients, and increase your earnings.
Why Offer Lash Filler, Brow Lamination and Tinting Together?
Clients want convenience and results. By offering a complete eye-enhancement package in just one visit, you:
-
Save your client time (less appointments = happier clients)
-
Create a high-value package that justifies a premium price
-
Build loyalty, as clients will see you as the “go-to” expert for total lash and brow transformations
-
Reduce gaps in your schedule by maximizing the outcome of each session
Step-by-Step Guide: How to Save Time and Deliver Perfect Results
Here’s the streamlined workflow that allows you to complete Lash Filler, Brow Lamination, and Tinting in around 80–90 minutes. The trick is to prepare efficiently and overlap certain steps where possible.
Step 1: Consultation & Prep (10 minutes)
-
Consultation (3–5 minutes): Discuss the client’s lash and brow goals. Do they want a natural finish, bold results, or something in between? Show tint swatches so they can select the right depth of color.
-
Prep (5 minutes):
-
Cleanse lashes and brows thoroughly with InLei® Delicate Rose Mousse Cleanser.
-
Remove oils, makeup, and residue to ensure products work effectively.
-
Apply under-eye pads for protection.
-
Brush brows into their natural shape to assess symmetry.
-
Step 2: Lash Filler Application (30–35 minutes)
-
Shield Placement: Choose the correct size silicone shield for the client’s eye shape.
-
Lash Placement: Lift natural lashes onto the shield using InLei® Fixing Gel. Ensure each lash is separated and straight — this step determines the final curl.
-
Lift Lotion: Apply InLei - FORM1 to the base of the lashes. Keep it 1 mm away from the lash line.
-
Neutralizer: Apply InLei - FIX2 to fix the lashes into their new shape.
-
Lash Filler: Apply InLei- FILLER3 to strengthen, thicken, and nourish the lashes.
-
Tint: While the lashes are still on the shields, apply tint from root to tip. This ensures even coverage and saves time instead of tinting separately later.
💡 Time-saving tip: While Inlei - FIX2 is processing on lashes, you can start prepping the brows for lamination.
Step 3: Brow Lamination Application (25–30 minutes)
-
Relaxing Lotion: Apply InLei® Brow Lift 1 to soften the hair bonds.
-
While this is processing, you can finish cleaning the lash shields or prepare the lash tint.
-
-
Brow Styling: Use InLei® TEDDIES Silicone Brushes to brush hairs into the desired direction (upward for a fluffy look, or slightly angled for a sleek style).
-
Neutralizer: Apply InLei® Brow Lock 2 to set brows in place.
-
Brow Butter: Apply InLei® Bomber 3 to restore flexibility and shine.
-
Tint: Apply brow tint to add fullness and color.
💡 Time-saving tip: Tint brows at the same time you’re tinting lashes — processing can happen simultaneously. Just ensure you carefully track timing so neither overtints.
Step 4: Finishing Touches & Aftercare (10 minutes)
-
Remove shields, pads, and any product residue with a damp cotton pad.
-
Brush through lashes and brows to style them into their final look.
-
Show the client the mirror — the transformation will feel instant.
-
Explain aftercare clearly:
-
No water, steam, or makeup on brows/lashes for 24 hours
-
Avoid rubbing or sleeping on the face
-
Recommend aftercare products like InLei® ADIUTRIX Lash & Brow Serum to extend results
-
Timing Breakdown
-
Consultation & Prep: 10 minutes
-
Lash Filler (with tint): 30–35 minutes
-
Brow Lamination (with tint): 25–30 minutes
-
Aftercare & Styling: 10 minutes
Total: ~80–90 minutes
That’s less than 1.5 hours for two premium services plus tinting — and your client leaves with a complete makeover.
Pricing & Packages
When you combine these services, you’re delivering a high-value transformation package, not just separate treatments.
Clients see value in bundling, and you earn more in less time.
Marketing the Combo Appointment
-
Promote Before/After Photos – show dramatic transformations on Instagram, TikTok, and Facebook.
-
Highlight Time Savings – clients love convenience; market this as a “3-in-1 appointment.”
-
Offer New Client Specials – encourage trial with introductory discounts.
-
Use Look Books – display photos of lash & brow work in your salon lobby for clients to browse while waiting.
-
Upsell Aftercare – always recommend products for long-lasting results.
Offering Lash Filler, Brow Lamination, and Tinting in one appointment is the ultimate way to:
-
Save time for both you and your clients
-
Boost your revenue per appointment
-
Deliver dramatic results that keep clients coming back
-
Position yourself as a high-level beauty professional
With smart timing, efficient prep, and quality products, you can master this combo treatment and watch your business grow.
If you’re ready to upgrade your services, explore professional Lash Filler, Brow Lamination, and Tinting products at My Absolute Beauty — trusted by beauty experts worldwide.