
Hi there, beauty bosses! Today we will talk about a hot topic: how to take excellent before and after photos. When providing any beauty treatment, it is super important to snap a picture before you begin and again when you finish. By doing this, you can show off your mad skills and help bring more clients your way! Taking high-quality photos can set you even more apart from the competition. Let’s learn how it’s done!
Become a Natural at Snapping Before and Afters
Taking great before and after photos of your work should become second nature. Get into the habit of automatically bringing out your camera the moment your client enters the salon - with permission, of course!
Documenting your progress and results can help you track your skill development over time and beef up your social media presence. As we’ve all come to learn, social media is a fantastic tool for helping you snatch up clients. By showing off your before and after on your socials, you open up the window for thousands of potential clients to see how great you are!
There are lots of beauty gurus out there, so how do you stand out from the crowd? By learning to take AMAZING before and after photos!
Tips to Top-Notch Before and After Photos
There are lots of different ways that you can go about taking your before and after photos, but here are the top tips and tricks that will help take your photos from drab to fab:
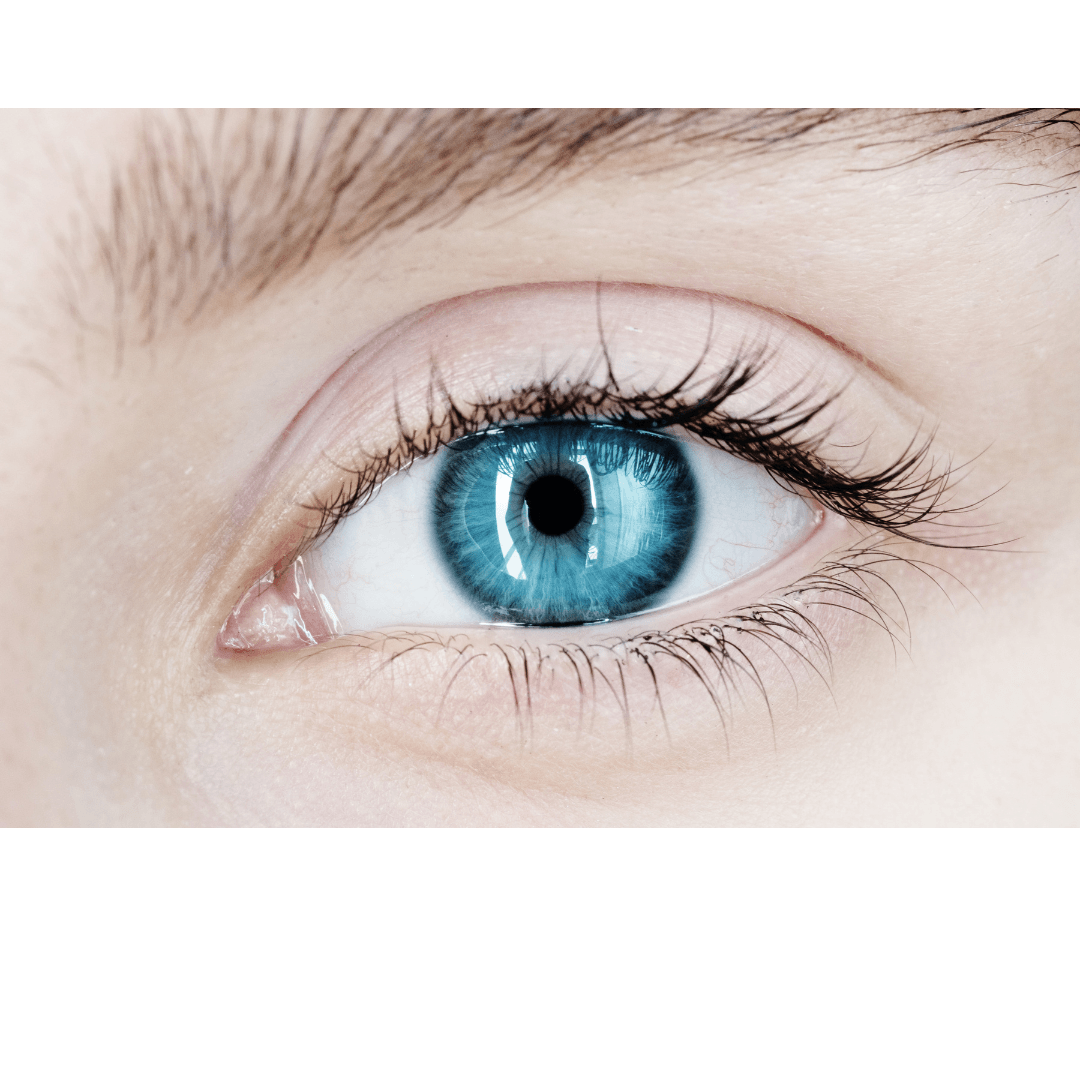
- Nail the Lighting
- Invest in quality equipment
- Compare and match angles
- Take a mixture of photos and videos
- Find what app works best for you
- Share, share, share!
Nail the Lighting
Anybody with experience in photography will tell you that lighting is everything! Finding the proper lighting will take your photos to the next level. Sticking to the exact same lighting ritual will help create a feeling of unison between your photos. Here’s how it’s done:
- Turn off all of the background lights.
- Use a ring light or studio light and take your before photos
- Use the exact same lighting setup for your after photos
By turning off all of the background lights, you eliminate any shadowing or discoloration that may occur. Controlling the lighting in this way will help give your photos a professional finish.
When you use a studio or ring light, you are in complete control of how the lighting is interacting with your lens. Using the same lighting in both your before and after photos, you will be able to create seamless transitions for your page!
Invest in Quality Equipment
Like everything else in your salon, investing in the highest quality photo equipment will give you the highest quality results. When it comes to before and after photos, the most accessible camera option is going to be on your phone!
Make sure whatever phone you are using has a fantastic camera. This will make a massive difference in the appearance of your photos. An iPhone 12, Google Pixel 5, or Galaxy Note 20 are great options.
Having an exceptional camera is a great first step, but there are more things you need to take your before and after photos to the next level. Items like these will help you get great results:
- Camera Phone Lenses
Did you know that you can buy attachable camera lenses for your cell phone? They’re nifty, and there are lots of great options on Amazon. Grabbing some of these can help you get the perfect super close-up shot of your client’s lashes and brows.
- Phone Ring Light

Adding a ring light to your phone will instantly create the perfect lighting effect for your before and after photos. It will also enhance the fine details of your work. My Absolute Beauty offers a great LED Ring Light option!
Compare and Match Angles
So, you’ve captured your before photos, and you’ve performed your beauty treatment. What now? It’s time to take your after photos! The first step in this process should always be taking a look back at your before photos.
Make a mental note of the angles you used in your before photos, and recreate them in an after shot. By taking as many similarly-posed photos as possible, you will be able to create beautiful collages and sliding photos for sharing!
There is no such thing as taking too many photos! Snap as many angles as you can. You never know what kind of inspiration might hit you later. Having a plethora of photos to choose from during your editing process will help keep your potential clients interested and looking forward to seeing your photos.
Take a Mixture of Photos & Videos
When it comes to some social media platforms, videos are king! Posting videos instead of only images can help you gain the favor of the algorithm and help get your content in front of more people. Videos also offer a more immersive experience for the viewer and can make you stand out from the stylists who don’t include them.
A great idea is to stitch together video clips of your client before, during, and after their treatment to use on your pages and stories. Clients love seeing the progress, and a video can make them feel like they are in the salon with you!
Posting photos to your feed and updating your story with videos is a great way to keep your social media consistent without being repetitive. Don’t let your page grow stale! Mix it up and keep those clients interested.
Find What App Works Best For You
There are a plethora of photo and video editing apps available to you. It is worth your time to download these and play around with them! Once you find one that you work well with, your editing process will become quicker and easier. Here is a list of some great options:
- PicsArt - Create collages, edit photos & videos.
- Facetune 2 - Retouch photos. IOS only.
- Snapseed - Enhance photos and apply filters.
- InShot - Video editing: add text and music.
- Before/After - Create ready-to-be-shared before and after photos.
- Instories - Create social media stories and video collages.
- Lightroom - Edit, store, and share photos across devices.
You will find out which apps you prefer as you take more and more photos. Once you get into the groove, taking fantastic before and afters will become second nature!
Share, share, share!

Once a client leaves your salon, get those photos edited and onto your pages as quickly as you can - your client is going to love it! They’ve just left your salon feeling gorgeous after investing in an excellent beauty treatment from you. Imagine how happy they will be when they hop on their phone and take a look at a side-by-side comparison of their results!
Sharing results and tagging clients opens up the door for your client to share the photos on their page with their friends. It’s an easy way to organically grow your business through word of mouth on social media. Always ask permission before posting and tagging, though!
Now You’re a Pro at Before and After Photos!
If you take the time to get into the habit of following the recommendations above, you will see that you will improve your before and after photo game dramatically. Make sure you’re using your favorite products from My Absolute Beauty to set the stage for quality photos to be taken. Get out there and start snapping!
Looking for a way to save? Use code: SPECIAL10 at checkout for 10% off your total purchase. Happy shopping!